One of the most common chemistry laboratory experiments in school laboratories is the Identification Reactions or salt analysis of inorganic salts. In these experiments, we analyze a given, unknown salt substance to figure out the cations and anions that make up the salt. You will have to perform various experiments step by step and note down the observations, and from them figure out which salt it was.
This massive class 12 practical class experiment can get pretty confusing to do. First, you have to prepare some sort of solution, and then try different things on it to see what happens. You have to record all of this. And then, from those notes, you have to finally decide what kind of ions may be present in the given salt.

This is a fairly difficult task for students that are just learning the secrets of chemistry. Fortunately, there are only a few salts available in most school labs and you can take advantage of that fact. So, today Labkafe Learning Center has brought to you the identification reactions of the most commonly used 10 salts available in school chemistry labs.
We will arrange this analysis text in a rather unusual way. Generally, in textbooks, the reactions are categorized into per-group of cations and anions. Here instead we will give you three steps to identify each ion.
The first would be a visual hint that will give you a clue about how that cation or anion may look like in a salt. The second is a preliminary test which gives a near-positive result for that ion, acting as a hint to go to the next step. And the third is a confirmatory test you should only perform if the preliminary test has come positive. If this third step also happens as described, then you can bet your unknown salt has that cation or anion in it!
This process is also called qualitative analysis. Let’s jump in! But first, you should know how to prepare the original solution on which you will perform most of these tests. If the salt is water-soluble, then you can mix it easily in cool or hot water. If that doesn’t work, you will have to try and dissolve it in light hydrochloric acid. This makes the Original Solution in salt analysis and identification reaction experiments.
First, we will list five of the most common cations that come in chemistry practical exams.
1. Copper [Cu2+]
Visual Hint:
A Cu2+ cation is a group 2 cation. Copper salts generally have a blue color. If you get a blueish salt, then you can go ahead and try the following salt identification tests.
Preliminary test:
In the original solution, add a few drops of dilute hydrochloric acid and hydrogen sulfide to the solution. A black precipitate will form.
Confirmation test:
Filter out the black precipitate you found in the previous step using filter paper. Now put it back into a clean tube and add ammonium hydroxide. It will dissolve the black thing and form a nice blue solution.

2. Iron or Ferric [Fe3+]
Visual Hint:
Ferric salts are generally yellow, brown, or something in-between. A rust-colored salt can be pretty certainly ‒ well ‒ rust. But don’t go by that since rust is Ferrous, not Ferric. Better go to the next step with a brownish or yellowish salt.
Preliminary test:
There is no chemical test as the preliminary test for the Fe2+ or Fe3+ ions ‒ visual determination is the only way. Ferrous (Fe2+) salts would have a greenish tinge and Ferric (Fe3+) salts will have a brownish hue, that’s all. You have to do the confirmatory test to figure it out.
Confirmation test:
- Make a small amount of watery solution of the given salt in a test tube.
- Add a couple of drops of concentrated nitric acid to the solution and shake a bit to mix it.
- Heat it on the bunsen burner and you’ll see something brown is forming in the solution in the tube.
- Get it out of the fire and let it cool for a bit. Add HCl and potassium ferrocyanide, a couple of drops each.
- The solution starts dropping a blue precipitate.
3. Strontium [Sr2+]
Visual Hint:
Unfortunately, Strontium salts generally don’t have any special color or texture to speak of. Instead, they are better found in a flame test. Read about how to perform a flame test here. In the flame, Sr2+ ions give a good red color. Warning: don’t get confused with an orange-red flame color given by calcium cations.
Preliminary test:
- Prepare the original solution with the salt and acid, and then add ammonium carbonate to it.
- Further, add ammonium chloride and ammonium hydroxide. A white precipitate should form now.
- Add dilute acetic acid and stir it a bit. The white stuff should get dissolved.
- Add a couple of drops of ammonium sulfate to the solution. Again a white precipitate will start falling.
Confirmation test:
Funny enough, the flame test is both the hint and confirmation for detecting the presence of strontium ions. A bright red flame will be seen in this case. (Again don’t get confused with the calcium ions).
4. Cobalt [Co2+]
Visual Hint:
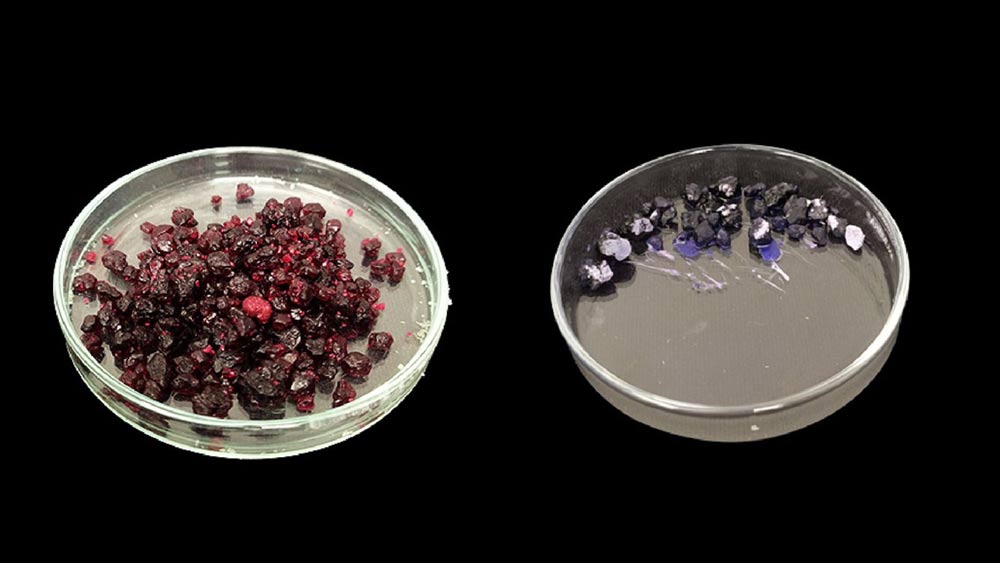
Most cobalt salts are dark blue when dry. Some are brick-red. Cobalt chloride, for example, is powder blue when dry but when moist it gives a nice onion-ish color. In a flame test, Co2+ will give a pink flame.
Preliminary test:
- Prepare the original solution and add some solid ammonium chloride to it.
- Pass hydrogen sulfide gas through it. A black precipitate will fall. Note: the same will happen with Nickel ions! You have to do the next step.
Confirmation test:
- Add solid ammonium chloride and liquid ammonium hydroxide to the original solution. Pour the latter some extra measure.
- Pass hydrogen sulfide gas through the solution. A blue residue will fall.
- Filter out the blue stuff and dissolve it in water in a new tube.
- Add acetic acid and potassium nitrite to the solution.
- Heat the solution over the bunsen, gently. A yellow precipitate will start to form.
5. Ammonium [NH4+]
Visual Hint:
Most ammonium salts used in school labs are very much water-soluble but don’t have much in the way of color or texture ‒ that should be your first hint. Neither do they reveal anything in a flame test.
Preliminary test:
Sorry to say, NH4 ions don’t have any preliminary test either. You have to do a confirmatory test directly. Saves time, doesn’t it!
Confirmation test:
Put some sodium hydroxide in the original solution and add some Nessler’s reagent to it. Some yellow or brown dirt should start falling.
Now we can move on to the 5 most common anions that are given in the identification reaction tests. Unfortunately for anions, there are no special visual hints to be considered ‒ tests are the only way.
6. Chloride [Cl-]
Preliminary test:
- Add a few drops of concentrated sulphuric acid to the given salt. A white foul-smelling gas should start coming out.
- Dip a glass rod in ammonium hydroxide and move the wet end close to the top of the test tube. The smell of the gas should get more intensely pungent.
Confirmation test:
If it’s a chloride salt then it should be soluble in water. Prepare a water-based original solution and do the following:
- Add silver nitrate to the test tube. A white precipitate should form.
- Filter out the white stuff above. Then try to dilute that in ammonium hydroxide. If it gets dissolved then it has Cl ions.
7. Sulphate [SO42-]
Preliminary test:
There are no preliminary tests for sulfate and phosphate ions, yay! Go straight to the confirmatory test step.
Confirmation test:
- Add barium chloride solution to the original solution. A white precipitate should form.
- Filter out that precipitate and try to dissolve it in concentrated hydrochloric acid. It should not get dissolved if it has sulfate ions in it, everything else will be.
8. Nitrate [NO3-]
Preliminary test:
Take some of the dry salt in a test tube and add just a couple of drops of concentrated sulfuric acid. If there are nitrate ions in there, you will see a brownish gas coming out with a very pungent smell.
Confirmation test:
- Take the watery solution of the salt and add ferrous sulfate solution.
- Add just a single drop of concentrated nitric acid, very carefully and slowly. In fact, don’t drop the acid on the mix at all; instead, tilt the tube and put the drop of acid on the inside of the tube, and slowly let it roll to the mix.
- If you do it gently enough, there will be a brown ring formed at the point where the acid has touched the solution.
9. Carbonate [CO32-]
Preliminary test:
- Take some of the given salt dry and put it in a test tube. Add a couple of drops of concentrated H2SO4 to it. You will find some gas coming out, but it won’t have any color or smell.
- Pass that gas through some limewater. It should turn milky white.
Confirmation test:
If you add some magnesium sulfate to the watery original solution, it will give out a white precipitate. That signifies some carbonate in it.
10. Iodide [I-]
Preliminary test:
Start with some dry salt in a test tube and put a little bit of concentrated sulphuric acid in it. A violet-colored gas should come out of the tube.
Confirmation test:
- Take some watery solution of the given salt and silver nitrate to it. A silver precipitate should form.
- Filter out that silvery stuff and try to make a solution of it in ammonium hydroxide. This silver precipitate of iodide salts will not dissolve.
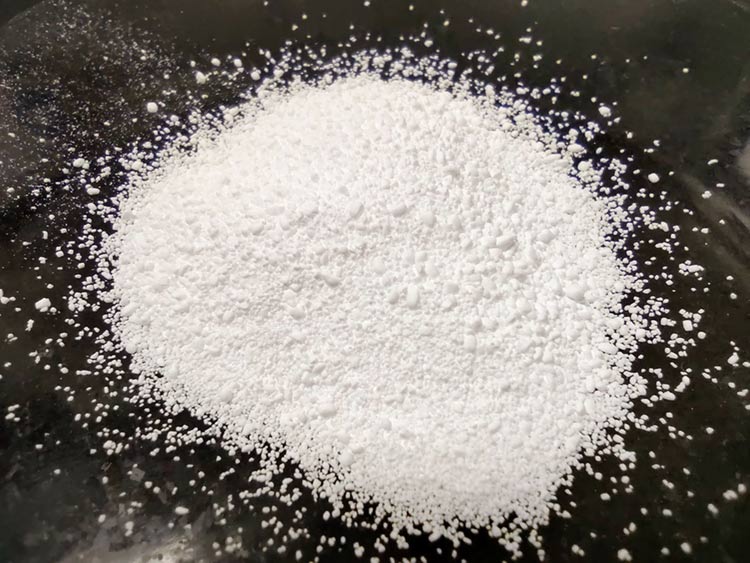
Note: Since potassium iodide is the only salt with the I- anion available in school labs generally, you can take a shortcut. KI looks like a simple white powder that gets diluted in water very easily. So, if you get such a specimen, you should first do the preliminary test and see if you get the violet fumes.
Conclusion
The class 12 chemistry practical salt analysis is extremely important. Learning properly, it is actually a good way to earn practical exam marks ‒ and to cement your understanding of the common chemicals. This systematic qualitative analysis of inorganic salts is a good way to recognize your way around a chemistry laboratory if you’re trying to build a career in chemistry.
The identification reaction practical of class XII is done by separating the cations and anions (positive and negative ions) in a given salt compound. Chances are, it will have two of the above cations and anions in its compositions. When you’ve identified both of them carefully, construct the formula of the salt in question. Be careful about the valencies of each ion, they should match up perfectly! So, what are you waiting for? Grab your test tubes and let’s go!
For a Free Lab Design Consultation, contact our experts!


Leave a Reply