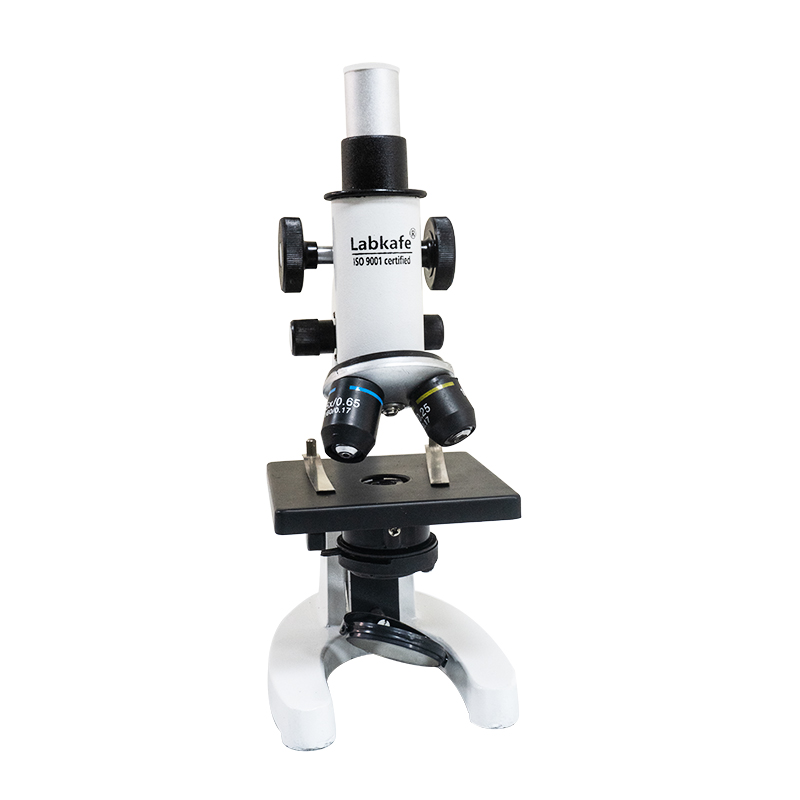
You have seen them in most pictures of any biology laboratory, but do you know how to work them? Today, we will talk about how to do a microscope setup. The type of device we will be talking about is a standard compound microscope , which is available from most lab equipment manufacturers. You can almost surely see them in your school or college lab.
Using a microscope is fairly complicated and you will need to understand all the parts of a microscope to be able to properly handle them. You will also need to know exactly how a microscope works , otherwise you may end up seeing nothing or just a blur. Finally, you will have to take care of your microscope because it is a very expensive and delicate instrument!
How to Set Up a Microscope
When you have finished being familiar with a microscope, you can confidently process learning how to set it up properly. Make sure you have a clean, undisturbing surrounding, and that you won’t be suddenly pushed or your hand jolted.
Ready? Let’s go.
Step 1: Official Reference
First of all, even before you bring out your microscope, make sure that you have the official instruction manual close at hand. What we are describing here is a generic way of a microscope setup; but it is highly possible that your model may differ from a generic microscope. In that case, you will have to look up parts from the manual before you try adjusting a part of the ‘scope.
- Why not store the manual with the microscope in the same place, to begin with? That way, it will always be handy.
- If you can’t find the manual for some reason, chances are there will be some digital version of it available on the internet. If not, call the manufacturer.
Step 2: Place the Microscope
Understand that you are working with a very delicate piece of instrument. Therefore, you need a very stable footing for the microscope. Clear a part of your laboratory table or workbench so that there are no debris or objects nearby that can potentially harm the device. Wipe the area with some surface cleaner and dry it with a clean piece of cloth.
- Take the microscope out of its secure storing place by holding it by the Arm and the Base. Do not pick it up just by holding the arm, carry the weight through the base too.
- Carefully put the microscope down on the cleaned table surface. Do not slam it down or drop it.
Step 3: Prepare your Specimen
If you haven’t done it already, it’s time to prepare your specimen properly so that it is ready to examine under the microscope.
- Place and prepare the specimen on a new, clean slide as required.
- Don’t forget to add the necessary coloring or other materials that will enhance the visibility of the specimen. Refer to your lab instructor for directions on this.
- Place a coverslip on top of the specimen. This will make sure that the objective lens and the specimen does not accidentally touch.
Step 4: Set up the Lighting
Any viewing through a microscope needs proper lighting. Prepare that now so that there is enough light coming through the aperture.
- If your microscope has an electric illuminator, plug it in and turn it on. You may need to adjust the intensity if such controls are available.
- Most school lab microscopes would have a mirror above the base instead. Turn it carefully so that it reflects the environmental light on the diaphragm.
Step 5. Select Lowest Objective
The objective lenses should be mounted on the microscope’s nosepiece. In case they are detachable, you have to attach them first. Refer to your manual (or lab instructor) for instructions on how to attach objective lenses to the nosepiece.
- When all lenses are in place, rotate it gently so that the shortest lens is pointing directly down. This would generally be the lens with the smallest power (usually 4x).
- This is done for two reasons. First, this way there will be enough space on top of the stage to mount your specimen slide properly.
- Also, when first trying to view the specimen, it is always better to start from the lowest power magnification.
- Make sure that you don’t touch the lens itself even by accident; hold it only by the canister that houses it.
Step 6. Mount the Slide
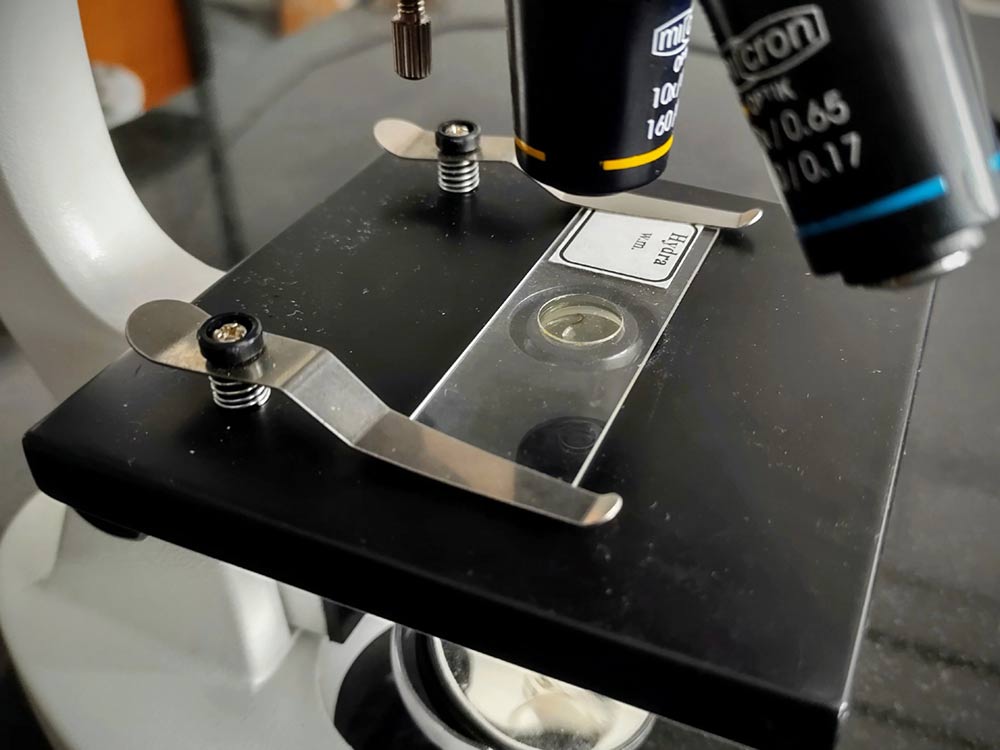
It’s time to place your specimen under the microscope! The only way to do this is to place the slide on top of the stage and pin it down by the clips.
- Put the slide in front of the raised end of the clip and push it inwards so that the specimen is directly over the aperture and under the objective, being lit from below.
- Use the adjustment screws on the stage (if any) to precisely place the specimen’s viewable space (no larger than a dot) right under the objective lens.
Step 7. View the Specimen
Now you can see the specimen through the scope! The enlarged image is being created by the objective and oculus lenses working together, looking at the specimen right underneath. But since the microscope is not focused properly, for the time being, you will only see a blur when you look through the eyepiece.
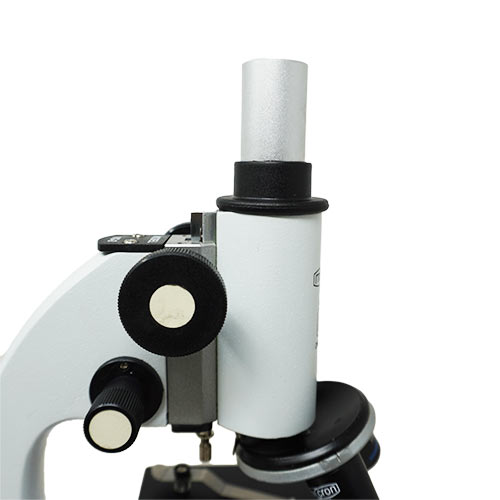
- First, adjust the light amount by controlling the diaphragm slowly till your eye is comfortable with the brightness of the image you see through the eyepiece.
- Then rotate the coarse adjustment knob till you get close to as much clarity in the image.
- Now you can use the fine adjustment knob to adjust the image clearly till you get a perfect view.
Note: Be careful when using the coarse adjustment ‒ it can lower the objective so much that it may touch the slide, and with more turn, can damage the lens and the slide. Never let the objective lens touch the slide!
There you go, your microscope setup is complete now! You can now change the objectives to get more magnifications (further adjustments will be necessary when changing lenses), and get a sketch of the specimen.
Wrapping Up
If this is your first time using a microscope, you will be amazed at the beautiful micro world! There is no end to the odd and weird stuff that can be seen only through a microscope, and who knows ‒ you will see something totally new tomorrow.
Labkafe has some very good microscopes for sale ‒ you can look in our products section to find them. They are also a part of our biology lab packages (subject to board needs). We offer very competitive microscope prices, and we supply any Pincode throughout India and beyond.


Leave a Reply