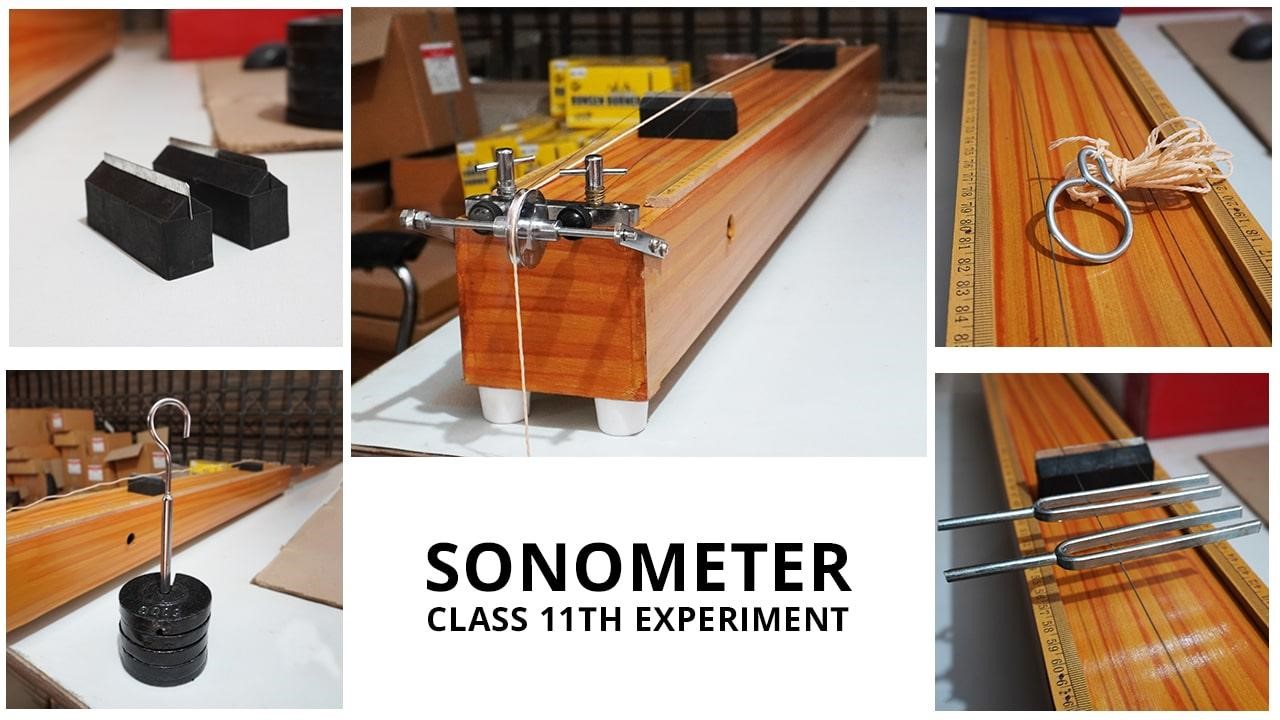
How to Perform the Sonometer Experiment with Tuning Forks
Previously, we have talked about what a sonometer is and why we use it in class 11-12 physics labs all around. Now that you know about the sonometer theory, we will tell you how to do the sonometer experiment today. This is a very important, and sometimes quite difficult experiment for students of classes XI XII of CBSE ICSE IGCSE State Boards. Nevertheless, if you follow the procedure given below and note the insights from our experts, you will be able to do it with good results.
A sonometer is one of the most important lab equipment in most high school level physics labs. It helps the students understand how a stretched wire produces sound, and how exactly that sound can be precisely changed. A sonometer, derived from an ancient instrument called monochord, connects music to mathematics. In real life it is used to tune various musical instruments.
Objectives of the Sonometer Experiment
- Study and understand the relationship between the vibrating frequency and the length of a given wire under constant tension using a monochord sonometer and thereby plot the f vs 1/l graph and study its characteristics.
- Study and understand the relationship between the length of a given wire and the tension applied to it for a constant frequency using a monochord sonometer and thereby plot the l2 vs T graph and study its characteristics.
Explanation: Basically, in the sonometer experiment what we will do is this. First, we will set up the sonometer with the given wire and weights. Then we will try to match the vibrating tones of a tuning fork and the wire, at which point they will resonate together. The best way to do this is to place a piece of paper on the taut wire and see at which length the wire vibrates so much that it throws off the paper.
We would record those data about the length, tension, and frequency ‒ and then we’d proceed with another setting of the same. At the end of the experiment, we will plot all of those data on graph papers so that we can figure out how they are related to each other.
Let’s move forward to the sonometer experiment procedure.
Procedure of the Sonometer Experiment
A. Equipment and Material
- A sonometer apparatus of good quality ( you can get one here )
- A given steel of nichrome wire ‒ about 1.5 meter of it. They are generally quite thin, like 0.5 mm. Guitar wires, obviously, produce the best results.
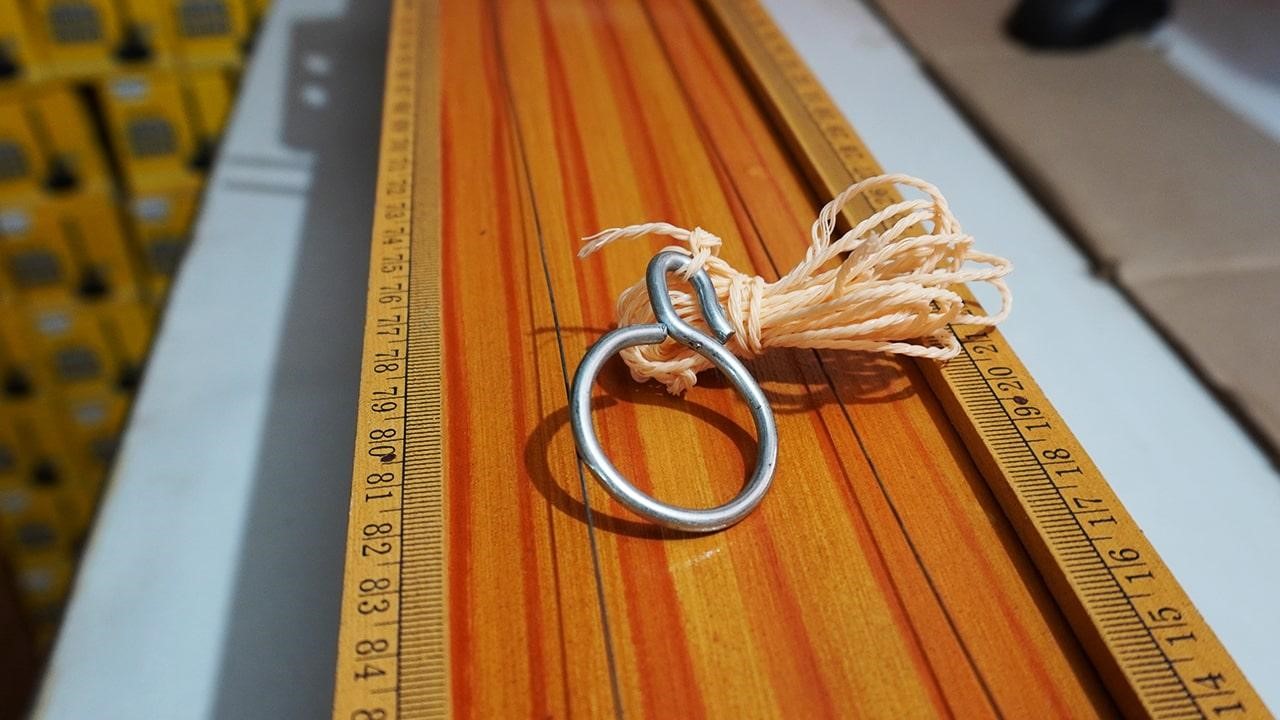
- A weight hanger suitable to hold up to 2 kgs
- A set of weights from 100gm to 1 kg
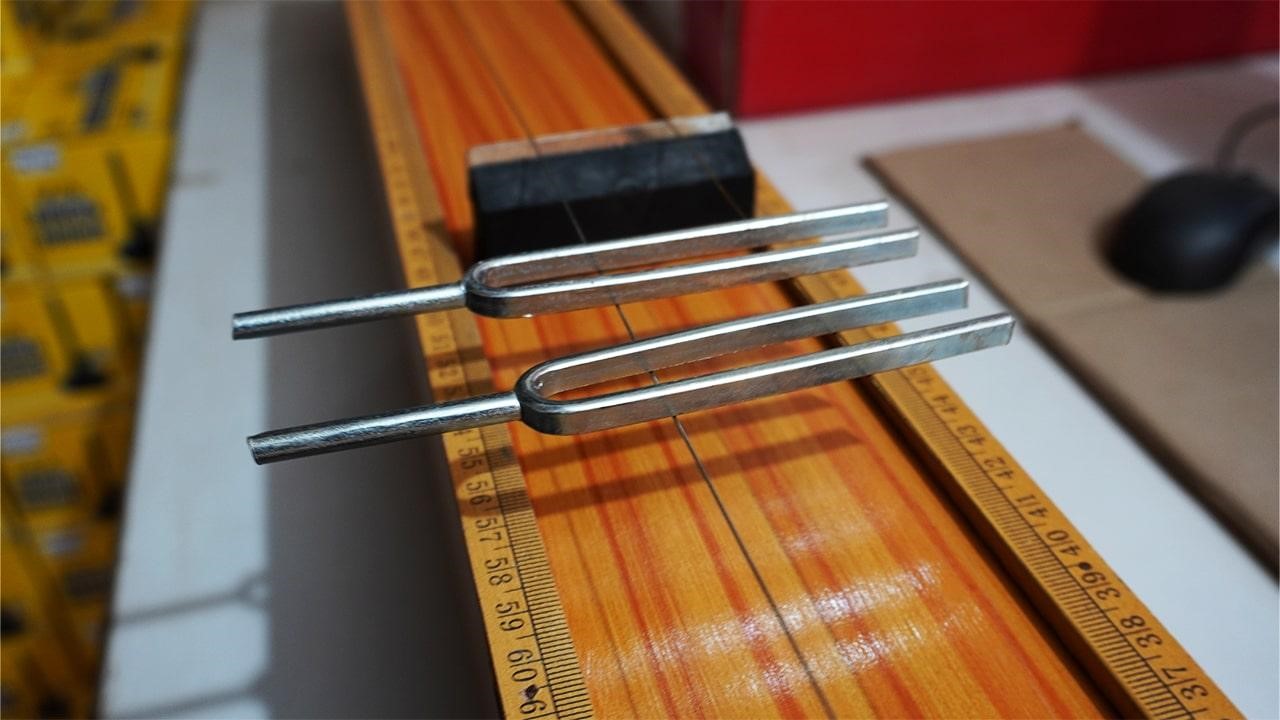
- A set of tuning forks with known frequencies
- A rubber pad to hit the tuning fork with
- Some pieces of paper
B. Setting up the experiment
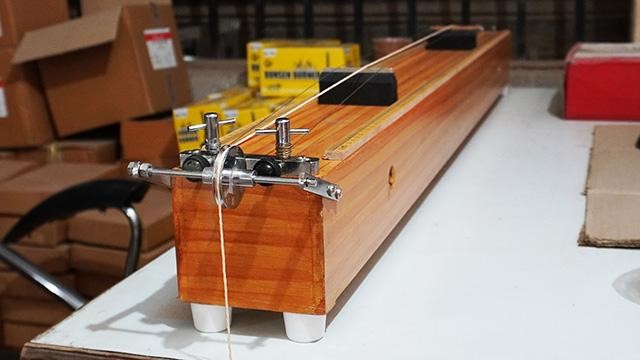
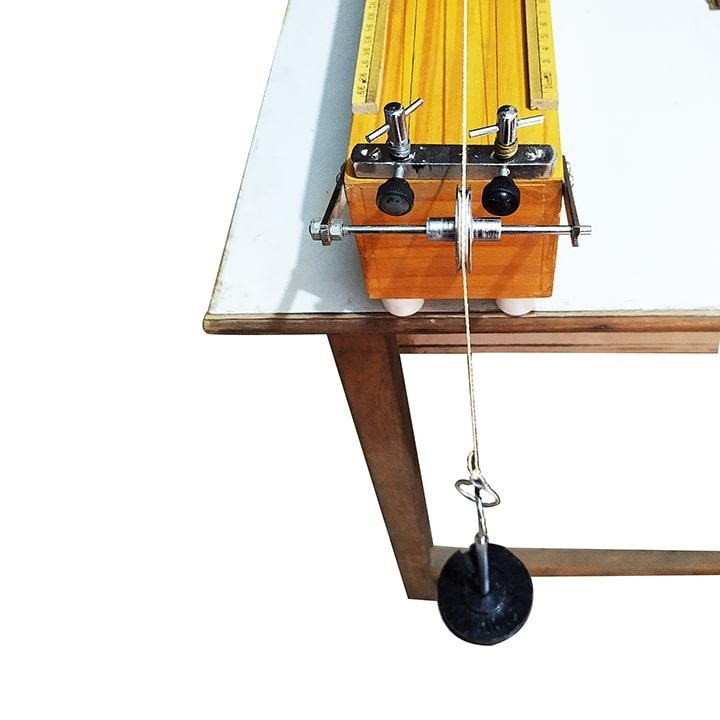
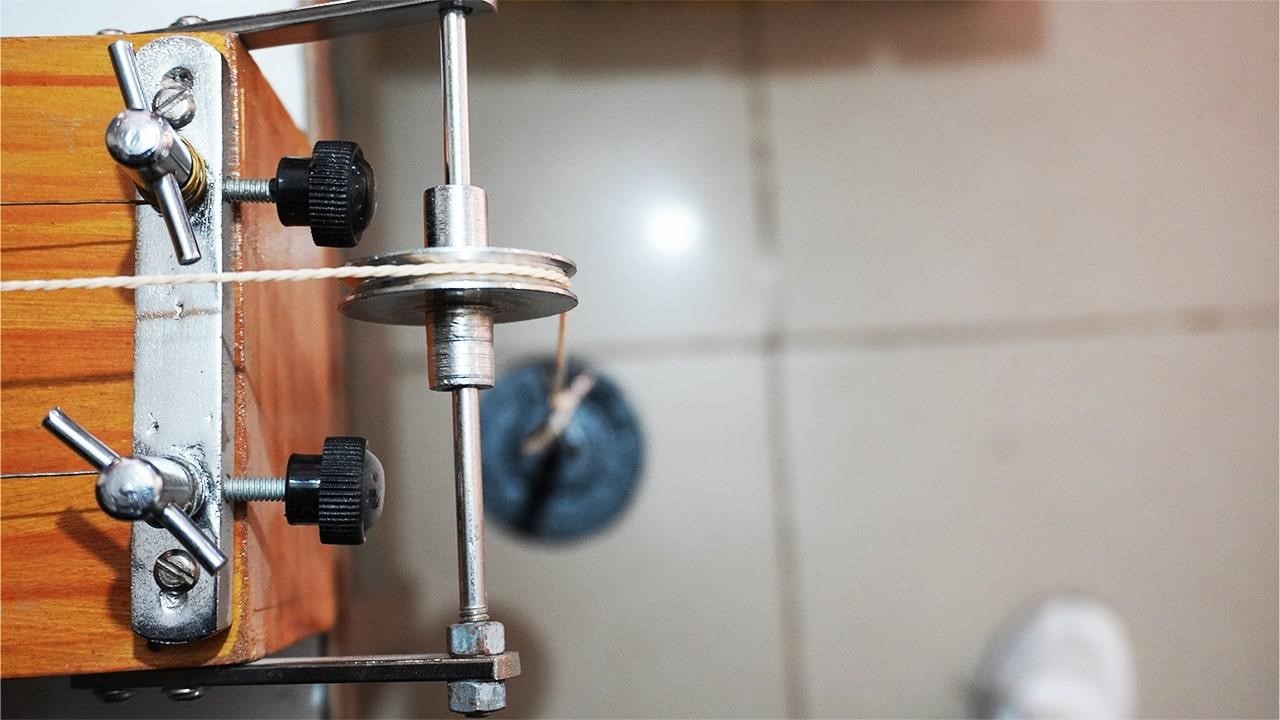
A sonometer is basically a long wooden box with a system on top to mount a wire tightly. You will need to set this up at the beginning of the sonometer experiment.
- Place the sonometer box on top of your dry lab workbench in your physics practical class. Place it in a way so that the end with the pulley is flush with the open side of the table, so that something can hang from the pulley.
- Get the wire you have to experiment with and verify that you have enough length of it. You’ll need about one and a half meters of it. The teacher will already know the mass per unit length of the material of the wire, but you may have to figure it out yourself using a scale and a precision balance .
- Attach one end of the wire to the hook at the end of the sonometer apparatus. Make sure it is strongly attached.
- Attach the weight hanger to the other end of the wire.
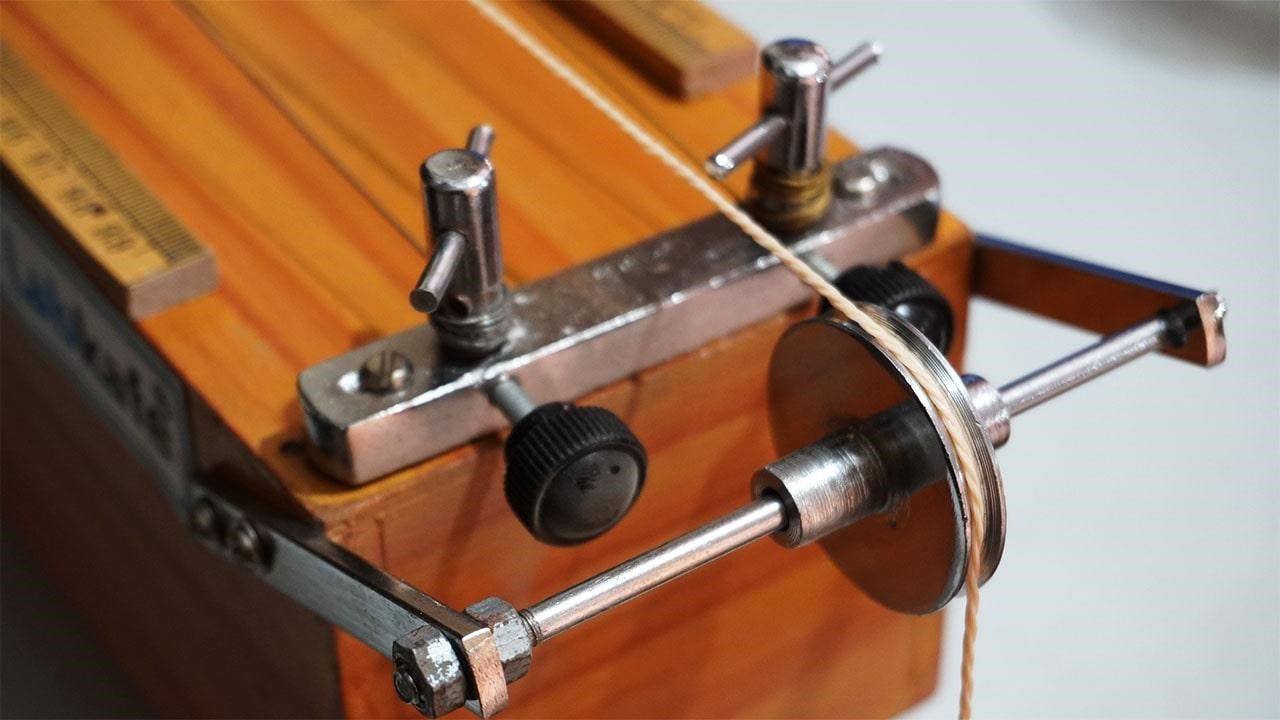
- Sling the wire over the pulley on the other end of the sonometer. Place a little weight on the weight hanger so that the wire is stretched tightly over the wood box.
- Place the bridges on the sonometer, under the wire, so that they hold up the wire between them and the wire is stretched tightly between them. Pull them apart to the positions farthest from each other (at the end of the scale).
That’s all there is to it ‒ your sonometer is all set up now for work.
C. Step-by-step experiment process
Now that you have your sonometer all set up and ready, you can begin the sonometer experiment. Follow these steps to do it properly.
- Take your notebook and prepare two tables like those given below. You can note all your experiment data here.
- Put a good amount of weight in the weight hanger.
- Note: if you are working with a steel wire, we recommend starting with 500 grams. You can increase it to nearly two kilos. But this range would be different for other kinds of wires. Please ask your lab instructor to advise you on the tensile strength of the wire.
- Take a small rectangular piece of paper (about the length of your finger) and fold it to make it an inverted V. Mount it in the middle of the wire so it hangs there loosely.
- Take a tuning fork and note down its frequency.
- Hit the tuning fork with the rubber pad to set it vibrating.
- Touch the handle of the vibrating tuning fork to the sonometer box. The wire will start vibrating in response to the vibrations coming from the tuning fork.
- If the tuning fork and the wire are vibrating at the same frequency, the wire will vibrate at maximum strength and will throw off the paper, producing a loud noise. This is called resonance.
- Chances are, that is not what you’ll get at first. It will take a lot of tries to get the perfect resonance. The nature of the wire also changes the difficulty of the experiment.
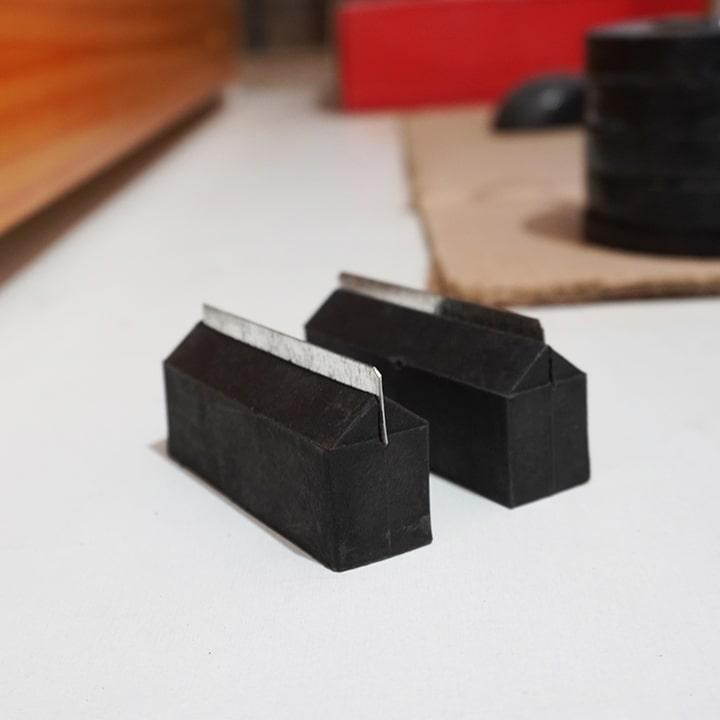
- Move one of the bridges to change the length of the wire. At one point, the length will hit the sweet spot and the wire will resonate with the tuning fork.
- In reality, it’s nigh impossible to get a so-called sweet spot. All you’ll get is a region. So, you will have to take two length readings, l1 and l2. Take one reading while you are decreasing the gap between the bridges and the wire starts vibrating, and take the other reading while you are increasing the gap and the wire stops vibrating. Then the calculation length l would be the mean of these two measures.
- Note down the positions of the bridges from the scale beside them. Also note the weight.
- Vary the weight and perform the same process again and again, to get some satisfactory results with the same tuning fork.
- Now keep a good amount of weight fixed in the hanger (we recommend 1 kg for a steel wire). With that unchanged, use up all the other tuning forks from the set and do the same process.
Sonometer Experiment Data
To perform this physics class 11 experiment, you will need to record the data in a specific format. Please make the following tables in your notebook and use the data from the experiment above to fill it up.
| Sl. no. | Tuning fork frequency, f | Resonating wire length | 1/l(in cm-1) | ||
| Increasing length, l1 | Decreasing Length l2 | Mean length l=(l1+l2)/2 | |||
| 1. | |||||
| 2. | |||||
| 3. | |||||
| 4. | |||||
| Sl. no. | Load, M in Kg | Tension, T = M.g in N | Resonating wire length | L2 in cm2 | l2/T(in cm2/N) | ||
| Increasing length, l1 | Decreasing Length l2 | Mean length l=(l1+l2)/2 | |||||
| 1. | |||||||
| 2. | |||||||
| 3. | |||||||
| 4. | |||||||
You can take as many data rows as you need, not only 4. Now plot the data in the graphs (f vs 1/l) and (l2 vs T). Both graphs should come out to be almost near straight lines.
We have taken some measurements in our system and the results are as follows:
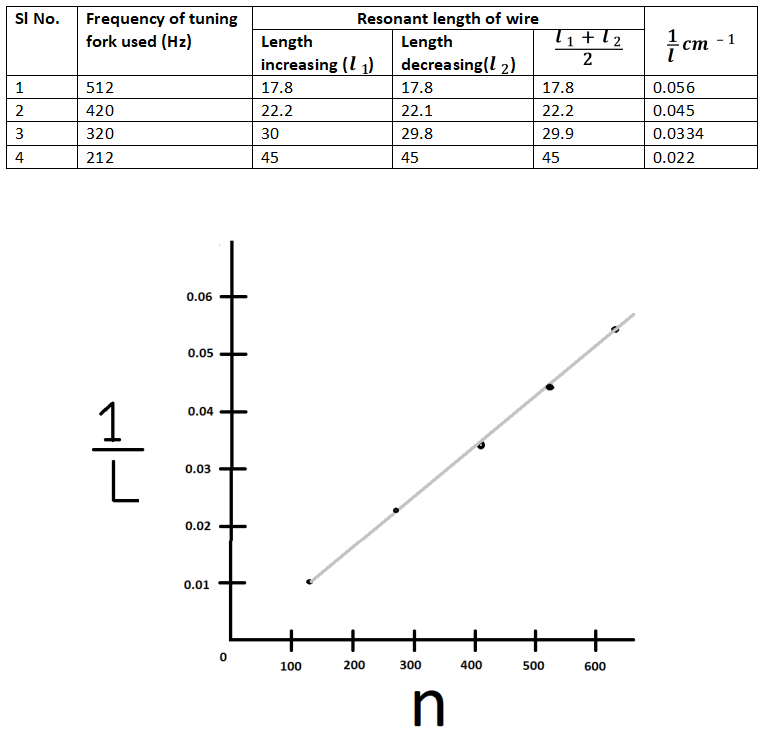
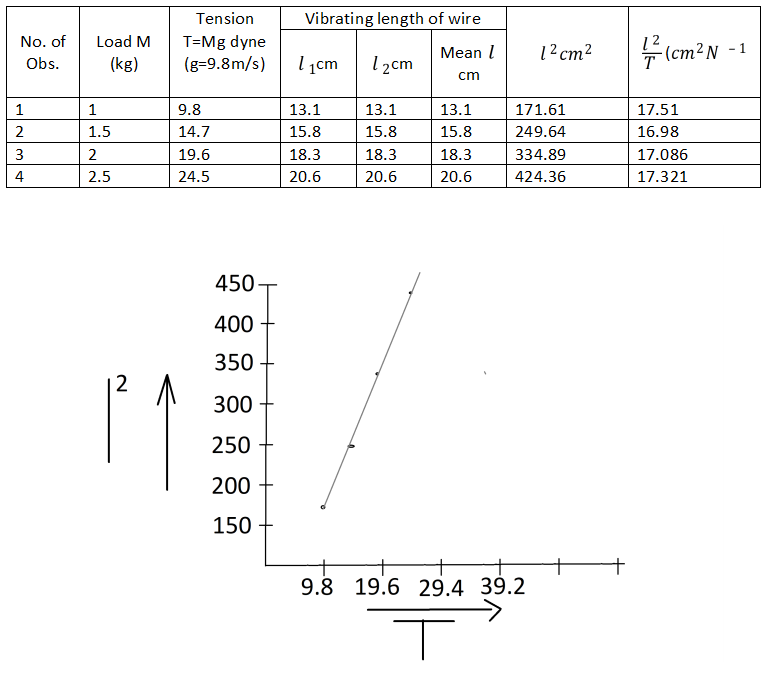
From the above graphs, you can see that the results come more or less in a straight line. This shows clearly how the length of a vibrating wire, the tension applied to it, and its frequency depend upon each other.
All the equipment you need to perform the sonometer experiment can be found in our CBSE/ICSE/State board lab equipment packages . The physics lab equipment package we have has the sonometer apparatus (teakwood), various kinds of wires, weights, and tuning forks.
It has been a pleasure describing the sonometer theory and practical to you! Please leave your thoughts and suggestions in the comment section given below. Happy learning!


Leave a Reply